Before you break ground
How do you prepare a site for a glamping cabin?
Confirm the property can support your plans, design the access and infrastructure, then prepare the ground and connections around the exact unit you’re ordering.
A beautiful clearing can look ready for a cabin long before it actually is. The road may be too tight for the delivery truck. The nearest electrical service may already be at capacity. The best view may sit in the lowest part of the property.
Finding those issues early gives you options. Finding them on delivery day usually means paying to solve them in a hurry.
The property
Intended use, approvals, ground conditions, and available services.
The installation
Access, support details, utility locations, and contractor responsibilities.
The handoff
A ready pad, a workable placement plan, and a clear path to opening.
Start with the local project team
Before committing to a layout or production schedule, take the proposed use, unit classification, unit count, and preliminary site plan to the relevant local planning, building, and health departments. Ask which approvals apply to the property and to operating overnight accommodation there.
A factory-built unit, a park model RV, and a modular building should not be treated as interchangeable approval paths. Confirm the path for the product you intend to buy. Product documentation does not, on its own, answer whether your particular property can host it.
Have your local team identify the issues that affect the plan: setbacks, spacing, emergency access, wastewater, flood exposure, drainage, and accessible guest facilities and routes. Resolve those questions before expensive site work begins.
Design the site around a stay, not just a footprint.
Place the cabin on a surveyed site plan with its deck, entry, parking, utility routes, and outdoor amenities. Check the view from inside the room, but also check where guests walk with luggage and where housekeeping parks on a busy turnover day.
Window orientation affects privacy, sunlight, and the relationship between neighboring units. A slight rotation may protect a view or avoid looking directly onto another deck. Leave room to reach service panels, maintain equipment, and replace major components later.
For a phased resort, draw the full plan even if the first order is small. Roads and main utility routes should make sense for future phases. Keep construction access separate from occupied guest areas wherever the site allows.
Choose the view and the delivery route together.
The best cabin location is one you can install, service, and operate without compromising the guest experience.
Check the entire delivery route.
A truck reaching the property entrance is only the first step. The transporter and installation contractor need to review the route all the way to the unloading area and final placement location.
Share the unit’s transport dimensions and weight, site photos, an aerial plan, and the proposed unloading position. Ask the carrier to confirm the loaded vehicle envelope; the cabin’s own height does not include the trailer beneath it.
- Turns and grades: gates, narrow corners, switchbacks, steep transitions, and space to turn around.
- Clearances: trees, overhead utilities, signs, structures, and temporary obstructions.
- Ground capacity: soft shoulders, recent fill, bridges, culverts, and surfaces affected by rain.
- Working space: unloading, rigging, equipment setup, staging, and a clear exit route.
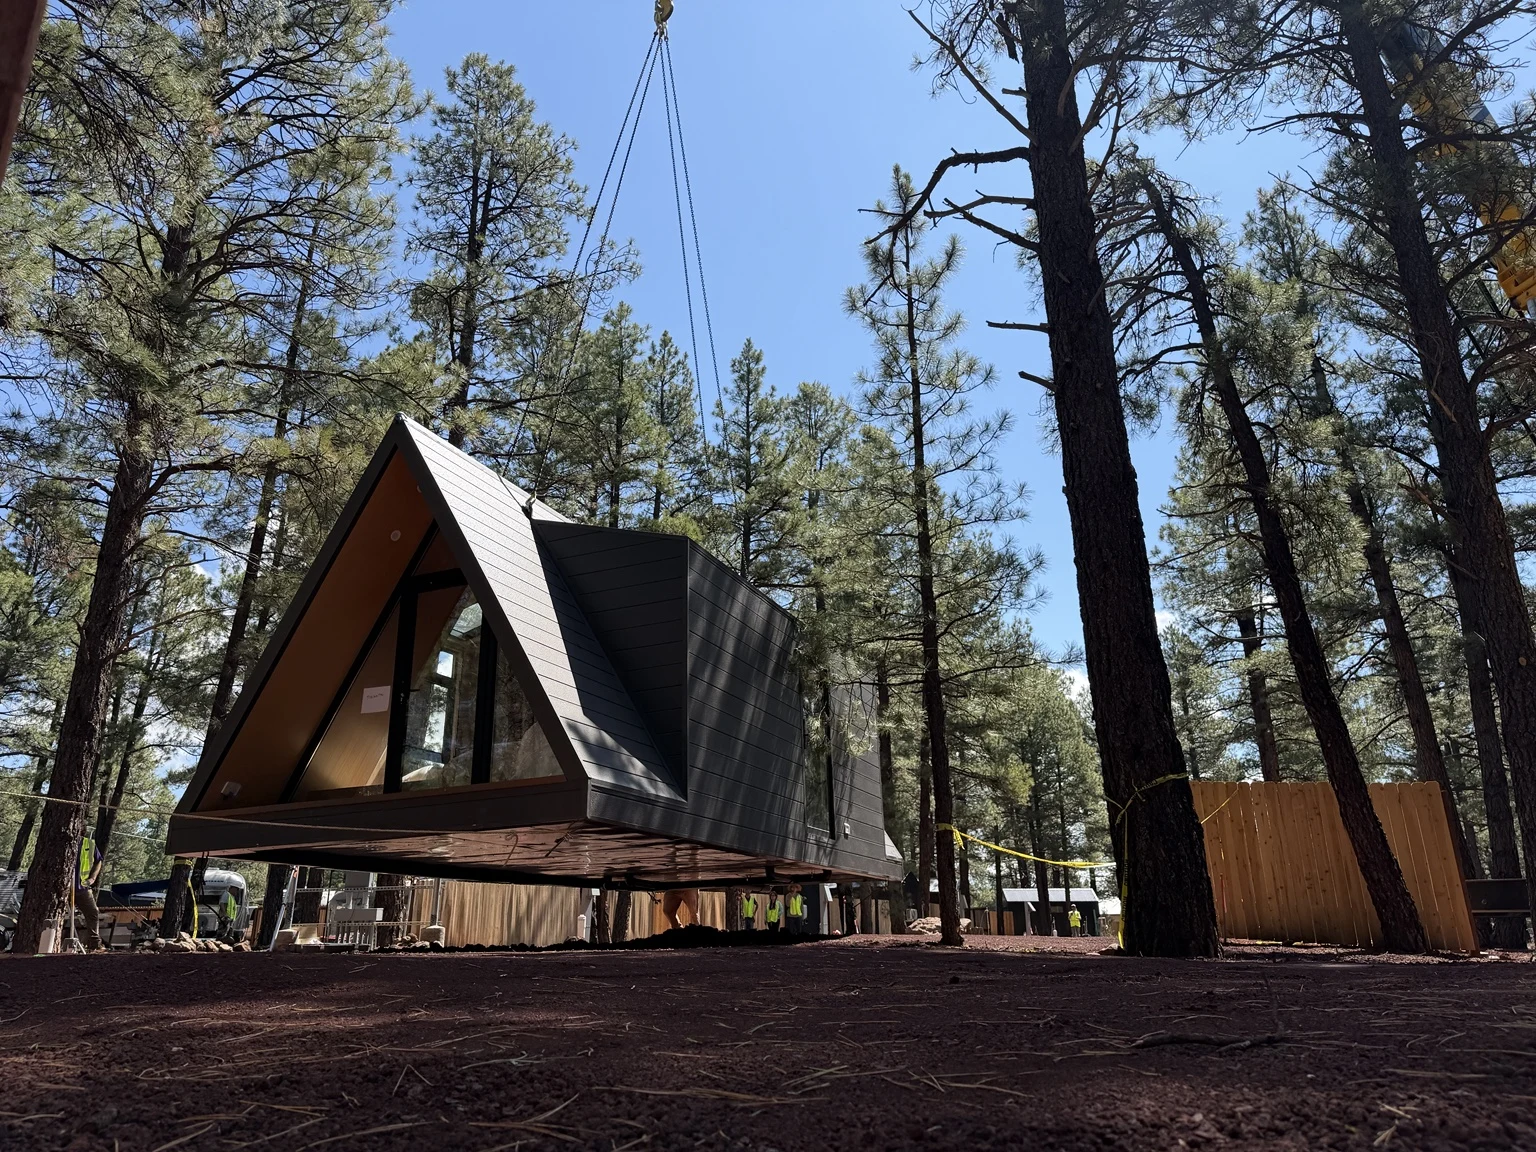
If a crane is needed, have the lifting contractor review the actual lift radius, unit weight, setup area, and ground conditions. Equipment selection and lifting details belong with the qualified contractor and the unit’s approved handling instructions.
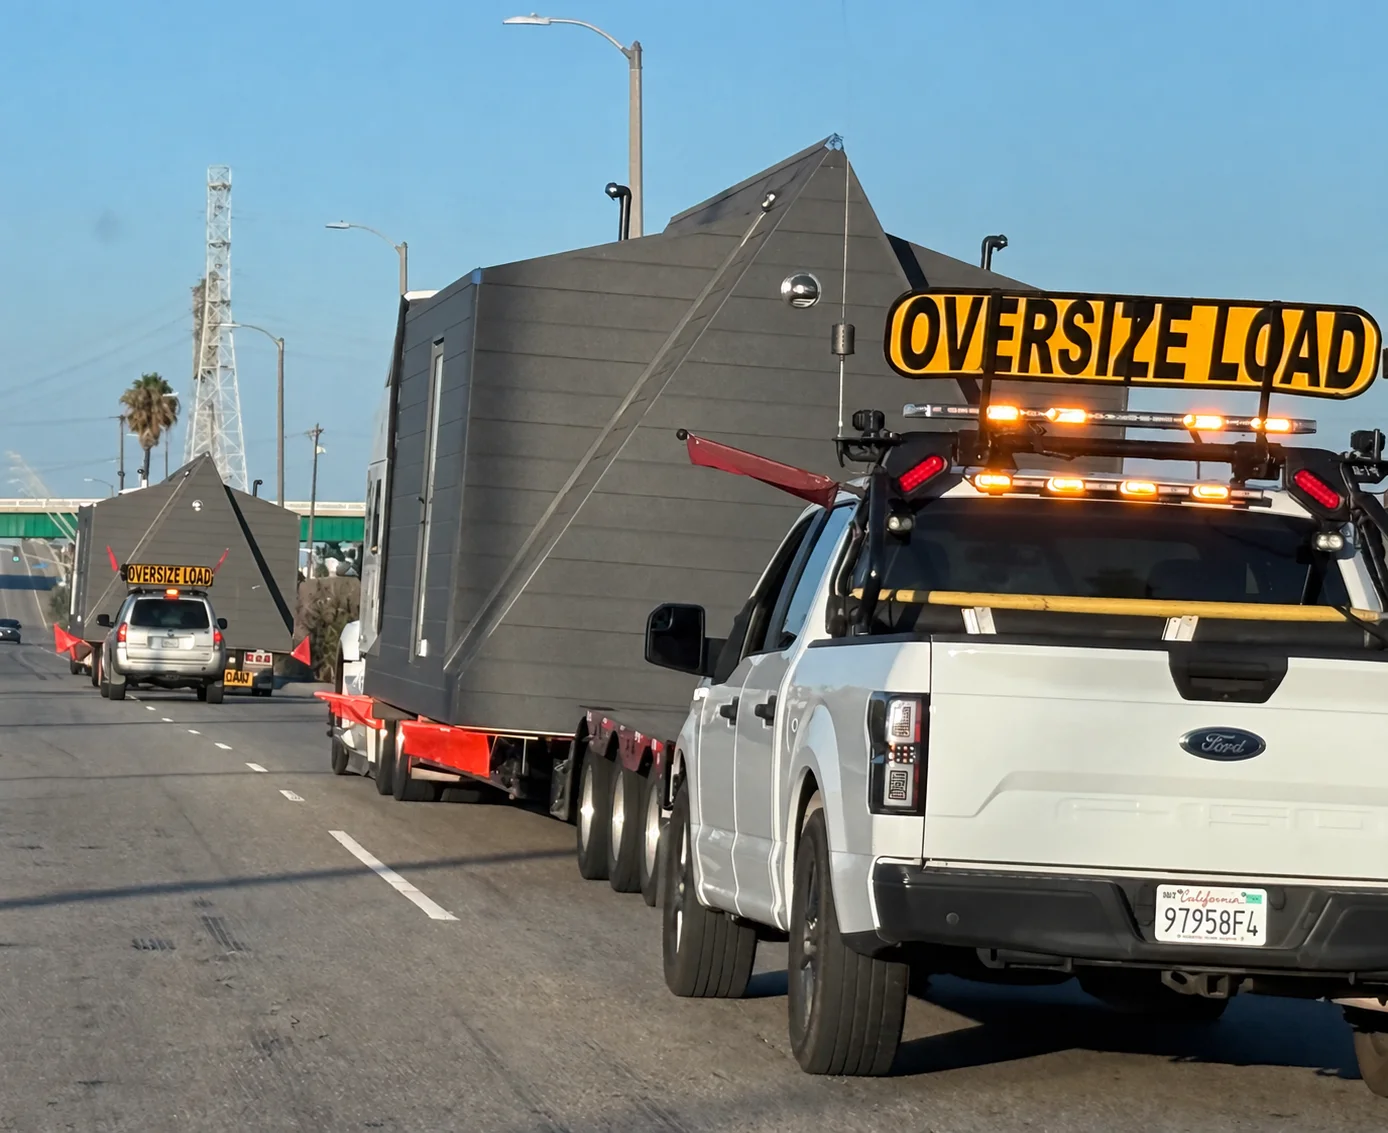
Put the handoff in writing: where transportation ends, who unloads, who places the unit, and who pays for waiting time or a return trip. Agree on a weather-related go/no-go decision before dispatch.
Get the ground and support system right.
Grading and drainage
Have the site contractor work from a coordinated grading and drainage plan. Clear only what the project needs, protect trees you intend to keep, and account for disturbed ground along trenches and equipment routes.
A level unit and a draining site are different requirements. The supports must hold the unit at its specified level while the surrounding ground manages runoff. Consider roof water, uphill runoff, paths, neighboring pads, and where water goes during heavy rain.
Foundations, piers, pads, and anchoring
There is no single foundation detail that fits every glamping cabin. The right support system depends on the unit design, support locations, ground conditions, site loads, and the installation requirements applicable to that property.
Before pouring concrete or setting piers, obtain the unit-specific support layout and coordinate it with the local designer or engineer responsible for the site. Confirm elevations, bearing requirements, anchoring, access beneath the unit, and connection clearances.
Do not copy another property’s footing sizes or assume that a gravel area is the complete support system. A prepared surface and the structural supports may be separate parts of the installation.
Decks and entry heights
Coordinate finished floor height before designing steps, ramps, decks, and paths. A late change to the pad elevation can affect every one of them. Confirm how outdoor structures are supported and whether any connection to the unit is permitted by its design.
Plan utilities from the source to the unit.
“Utilities are nearby” is a starting point, not a connection plan. Get the available capacity, actual routes, connection locations, and responsibility for final hookups confirmed before trenching.
Electrical service
Give the electrical designer or contractor the unit’s equipment schedule and electrical requirements, along with loads from hot tubs, exterior lighting, laundry, and other shared facilities. Confirm existing capacity and any utility-company work before setting an opening date.
Coordinate the service location with the unit drawings. The contractor should specify distribution equipment, conductor sizing, protection, burial details, and final connections for the site. Leave service equipment accessible after decks and landscaping are installed.
Water supply
Confirm usable supply, pressure, treatment needs, and the expected demand across the property. Mark the unit inlet location and plan accessible isolation points. In climates that freeze, include the exposed connections and service runs in the winterization design.
Wastewater
Establish the wastewater approach early. A nearby sewer line or existing septic system does not establish that additional units can connect. Ask the utility or local wastewater professional to verify the proposed capacity and connection approach.
For onsite treatment, reserve the areas needed for the system and maintenance access before placing cabins, roads, or amenities. The EPA’s overview of septic systems explains why siting, installation, and ongoing maintenance matter.
Coordinate outlet elevations and the route to the receiving system. Have the responsible professional determine whether gravity flow is practical or pumping is needed. This is much easier to resolve before the support elevations are fixed.
Internet and guest access
Check connectivity at the cabin locations, not just at reception. Plan Wi-Fi coverage, equipment power, and access controls before finishing trenches and paths. Test locks and guest connectivity with the unit closed up and ready for a stay.
Off-grid sites
Off-grid infrastructure needs its own design and operating plan. Account for energy demand, storage, backup power, water supply, wastewater, servicing access, and seasonal conditions. A remote site still needs a dependable way to provide the basics on a fully booked weekend.
Run site work and production on a coordinated schedule.
Much of the site work can happen while the unit is being built. The key is to agree on the information needed before each contractor starts, then keep everyone working from the same drawings.
- Confirm feasibility. Establish the intended use, approval path, site constraints, and utility options.
- Coordinate the plan. Fix unit locations, transport access, support details, finished levels, and connection points.
- Prepare the site. Complete access, grading, supports, and the utility work scheduled before placement.
- Release delivery. Review the readiness checklist with the supplier, carrier, and installer before dispatch.
- Place and connect. Complete installation, final hookups, required checks, and the punch list.
- Open for guests. Finish outdoor areas, commissioning, furnishing, operational setup, and applicable approvals.
Give every handoff an owner
The owner or project manager should maintain one responsibility list covering the supplier, local designer, site contractor, utility contractors, transporter, and installer. The exact split comes from your contracts; do not assume the unit purchase includes the work around it.
For each task, record the responsible party, the drawing or scope they need, their completion date, and who accepts the work. Keep a named site contact available on delivery day.
Utility upgrades, approvals, weather, and ground conditions can control the schedule. A manufacturing lead time is not the same as a guest-opening date.
What does glamping site preparation cost?
The biggest variables are usually what already exists and how far the new work needs to go. Adding a cabin beside an established utility network is a different project from developing a remote parcel.
Ask contractors to price identifiable scopes: access improvements, clearing and grading, drainage, supports and anchoring, utility distribution, individual connections, placement equipment, and restoration. Include design, local fees, testing, and inspections where they apply.
Separate shared infrastructure from the work serving each cabin. A main electrical upgrade may serve several future phases, but the first phase still needs the cash to install it. Keep an allowance for unresolved work and establish how changes will be priced.
For the wider opening budget—including the unit, transportation, furnishings, and operating cash—read our full glamping cabin cost breakdown.
Before the truck leaves
The delivery-readiness checklist
Use this at the final coordination meeting. Each item should have a named person who can confirm it is ready.
- The approvals needed for delivery and installation are in place.
- Everyone has the current unit dimensions, weight, handling instructions, and installation drawings.
- The carrier has reviewed the route, gate, turning areas, clearances, and exit.
- The installer has confirmed the placement method, equipment, crew, and working space.
- Supports are complete and verified against the coordinated layout and elevations; concrete readiness is confirmed where applicable.
- Pre-placement utility work is complete, marked, and checked against the unit’s connection locations.
- Underground services, drainage features, and treatment areas are protected from equipment traffic.
- Weather and ground conditions are suitable for the agreed delivery plan.
- The site contact, arrival window, unloading responsibilities, and delay arrangements are agreed.
- Final hookups, testing, and follow-on contractors are scheduled.
Delivery-ready does not mean guest-ready. Keep a separate opening checklist for commissioning, completed access and outdoor areas, operational setup, and applicable final approvals.
A few questions worth settling early.
Can I put a glamping cabin on land I already own?
Start by confirming the intended hospitality use with the local authorities and checking access, utilities, and site constraints. Owning the property does not settle the approval or installation questions.
Does every park model RV need a concrete slab?
Do not assume one support type fits every unit. Use the manufacturer’s installation information and a site-specific design coordinated with the responsible local professionals. A slab, pads, or piers may play different roles depending on the project.
Can site preparation happen while the cabin is built?
Yes, once the necessary approvals and coordinated drawings are available. Confirm connection points and support details before permanent work begins, and verify readiness before releasing delivery.
Do we always need a crane?
The placement method depends on the unit, transport arrangement, site access, and final location. Have the carrier and installer agree on the method before booking equipment.
What should I send SandBox to start planning?
Send the property location, planned unit count, preferred layouts, any available survey or site plan, photos of the access route, known utility information, and your target opening date. Flag slopes, tight turns, overhead obstacles, and existing guest operations.
Let’s look at your property
Bring the site into the conversation early.
Share your location, plans, and target opening date. We can start coordinating the unit and delivery scope with the work your local team needs to prepare.
Plan your project with SandBoxExplore our process or see SandBox projects.